Welcome to this comprehensive guide on how to make a WordPress theme from scratch for beginners. If you’re new to WordPress development, creating your own theme might seem daunting, but it’s an incredibly rewarding process. It allows you to customize your website exactly how you want, without relying on pre-built themes that might come with unnecessary bloat or limitations. In this article, we’ll walk through the entire WordPress theme development process step by step, from setting up your environment to launching your theme. By the end, you’ll have the knowledge to build a basic, functional theme and even expand it with advanced features.
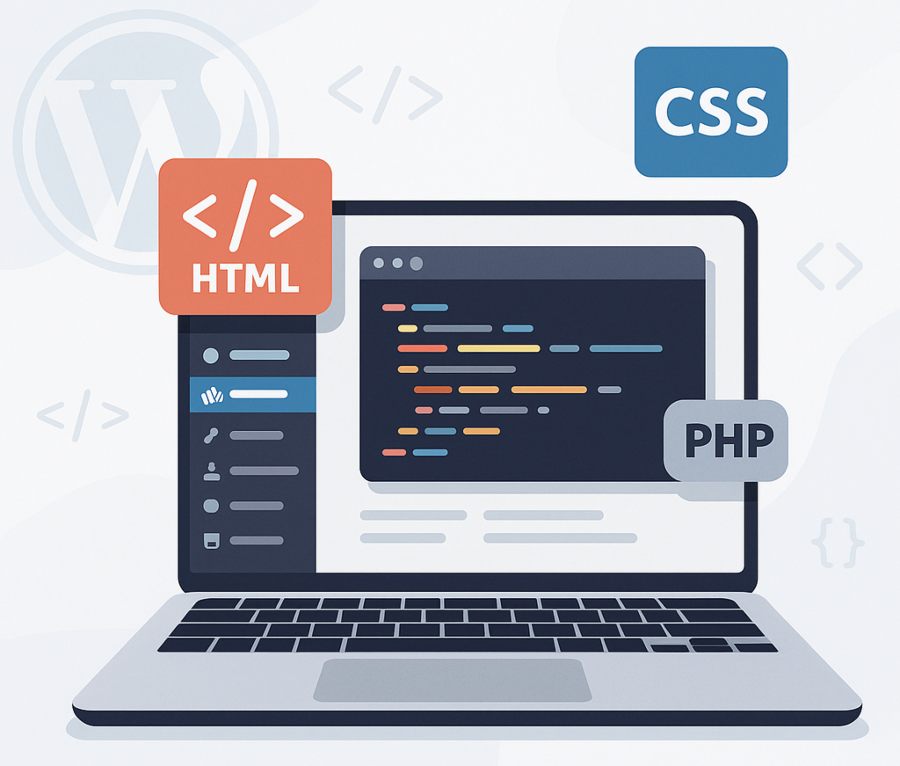
WordPress powers over 40% of the web, and themes are the backbone of its design flexibility. A theme controls the layout, styling, and functionality of your site. While there are thousands of free and premium themes available, building one from scratch gives you full control and helps you learn core concepts like PHP, HTML, CSS, and WordPress-specific functions. This tutorial is tailored for beginners—no prior coding experience is required, though basic HTML and CSS knowledge will help. We’ll aim for clarity, with code snippets and explanations.
Before we start coding, it’s essential to grasp what a WordPress theme is and how it works.
A WordPress theme is a collection of files that determine the visual appearance and structure of your website. It includes templates for pages, posts, headers, footers, and more. Themes are stored in the wp-content/themes/ directory of your WordPress installation. Each theme has at least two required files: style.css (for styling and theme metadata) and index.php (the main template file).
Themes can be simple (like a basic blog layout) or complex (with custom post types, e-commerce integration, etc.). Building from scratch means starting with a blank slate, which is perfect for learning.
There are several reasons to create a custom theme:
For beginners, this process builds confidence in web development. However, if you’re short on time, starting with a starter theme like Underscores (_s) can be a shortcut—but we’ll focus on pure from-scratch building here.
To follow along, you’ll need:
Don’t worry if you’re not an expert; we’ll break it down.
The first step in WordPress theme development is creating a safe space to build and test your theme without affecting a live site.
You can’t develop a theme directly on a live WordPress site—it’s risky. Instead, set up a local environment using tools like:
Once installed, create a new WordPress site in your local server. Download WordPress from wordpress.org, extract it to your server’s htdocs folder (or equivalent), and run the installer via localhost in your browser.
Navigate to http://localhost/wordpress (adjust based on your setup). Follow the on-screen instructions to set up a database and admin user. This should take about 5 minutes.
While we’re building from scratch, activate a default theme like Twenty Twenty-Four temporarily. This lets you see WordPress in action before switching to your custom theme.
With your environment ready, you’re set to create files. This setup ensures changes are isolated, preventing any mishaps on a production site.
Now, let’s get into the core of how to make a WordPress theme from scratch for beginners: building the files.
In your WordPress installation, go to wp-content/themes/. Create a new folder, e.g., my-custom-theme. This is where all your files will live. Folder names should be lowercase with hyphens for best practices.
WordPress requires two files to recognize a theme:
Open your text editor and create style.css in your theme folder. Add this header comment at the top:
/*
Theme Name: My Custom Theme
Theme URI: https://yourwebsite.com/theme
Author: Your Name
Author URI: https://yourwebsite.com
Description: A simple custom WordPress theme for beginners.
Version: 1.0
Text Domain: my-custom-theme
*/This metadata tells WordPress about your theme. Below the comment, add basic CSS, like:
body {
    font-family: Arial, sans-serif;
    margin: 0;
    padding: 0;
}Next, create index.php with a simple HTML structure:
<!DOCTYPE html>
<html>
<head>
    <title><?php bloginfo('name'); ?></title>
    <link rel="stylesheet" href="<?php bloginfo('stylesheet_url'); ?>">
</head>
<body>
    <h1>Hello, WordPress!</h1>
</body>
</html>Here, bloginfo(‘name’) pulls your site’s title, and bloginfo(‘stylesheet_url’) links to your CSS. Save these files.
Log into your local WordPress admin (localhost/wordpress/wp-admin). Go to Appearance > Themes. You should see “My Custom Theme.” Activate it. Visit your site—voila! A basic page with “Hello, WordPress!”
This is the skeleton. Now, we’ll flesh it out.
WordPress uses a template hierarchy to decide which file to load for different content types. We’ll add common templates.
Reusing code is key. Create header.php for the top section:
<!DOCTYPE html>
<html <?php language_attributes(); ?>>
<head>
    <meta charset="<?php bloginfo('charset'); ?>">
    <title><?php wp_title(); ?></title>
    <?php wp_head(); ?>
</head>
<body <?php body_class(); ?>>
    <header>
        <h1><a href="<?php echo home_url(); ?>"><?php bloginfo('name'); ?></a></h1>
        <p><?php bloginfo('description'); ?></p>
</header>wp_head() is crucial for plugins and scripts. Then, footer.php:
    <footer>
        <p>© <?php echo date('Y'); ?> <?php bloginfo('name'); ?></p>
    </footer>
<?php wp_footer(); ?>
</body>
</html>Update index.php to include them:
<?php get_header(); ?>
    <main>
        <h2>Welcome to My Site</h2>
    </main>
<?php get_footer(); ?>This modularizes your theme.
The Loop displays posts. Add this to index.php inside <main>:
<?php if (have_posts()) : ?>
    <?php while (have_posts()) : the_post(); ?>
        <article>
            <h2><a href="<?php the_permalink(); ?>"><?php the_title(); ?></a></h2>
            <?php the_content(); ?>
        </article>
    <?php endwhile; ?>
<?php else : ?>
    <p>No posts found.</p>
<?php endif; ?>have_posts() checks for content, the_post() sets it up, and functions like the_title() output data. Create some sample posts in the admin to test.
Create single.php for individual posts:
<?php get_header(); ?>
    <main>
        <?php if (have_posts()) : while (have_posts()) : the_post(); ?>
            <article>
                <h1><?php the_title(); ?></h1>
                <?php the_content(); ?>
            </article>
        <?php endwhile; endif; ?>
    </main>
<?php get_footer(); ?>For pages, page.php is similar but without categories/tags.
This covers basic templates. WordPress has more like archive.php, search.php, but start simple.
A theme isn’t complete without design. Let’s add CSS.
In style.css, expand your styles:
header {
    background: #333;
    color: #fff;
    padding: 20px;
    text-align: center;
}

main {
    max-width: 800px;
    margin: 0 auto;
    padding: 20px;
}

article {
    margin-bottom: 20px;
    border-bottom: 1px solid #ccc;
}Use classes from body_class() for targeted styling, e.g., .home for the homepage.
Make it mobile-friendly with media queries
@media (max-width: 600px) {
    main {
        padding: 10px;
    }
}Add this to style.css. Test by resizing your browser.
For better management, use functions.php. Create it in your theme folder:
<?php
function my_theme_scripts() {
    wp_enqueue_style('main-style', get_stylesheet_uri());
}
add_action('wp_enqueue_scripts', 'my_theme_scripts');This properly loads your CSS, avoiding direct links in templates.
Themes can include features like menus, widgets, and custom options.
In functions.php:
function register_my_menus() {
    register_nav_menus(array(
        'primary-menu' => 'Primary Menu'
    ));
}
add_action('init', 'register_my_menus');Then, in header.php:
<nav>
    <?php wp_nav_menu(array('theme_location' => 'primary-menu')); ?>
</nav>Go to Appearance > Menus in admin to create one.
Add to functions.php:
function my_theme_widgets_init() {
    register_sidebar(array(
        'name' => 'Sidebar',
        'id' => 'sidebar-1',
        'before_widget' => '<div class="widget">',
        'after_widget' => '</div>',
    ));
}
add_action('widgets_init', 'my_theme_widgets_init');Create sidebar.php:
<aside>
    <?php dynamic_sidebar('sidebar-1'); ?>
</aside>Include it in templates with get_sidebar().
Enable post thumbnails, etc.:
add_theme_support('post-thumbnails');
add_theme_support('title-tag');This adds image support and better title handling.
For beginners advancing, let’s touch on more.
In functions.php:
function create_custom_post_type() {
    register_post_type('portfolio', array(
        'labels' => array('name' => 'Portfolio'),
        'public' => true,
        'supports' => array('title', 'editor', 'thumbnail'),
    ));
}
add_action('init', 'create_custom_post_type');Create single-portfolio.php for templates.
If extending an existing theme, create a child theme. But since we’re from scratch, this is optional.
Enqueue scripts in functions.php:
wp_enqueue_script('custom-js', get_template_directory_uri() . '/js/script.js', array(), '1.0', true);Create a js folder and script.js for interactivity.
No development is complete without testing.
Use WP_DEBUG in wp-config.php: define(‘WP_DEBUG’, true);
Check for errors in the browser console or error logs.
View your site in Chrome, Firefox, Safari, and mobile emulators.
Install the Theme Check plugin to scan for standards compliance.
Test on different devices and with sample content.
Follow these for a professional theme:
Keep your code clean and commented.
Once tested, zip your theme folder and upload to a live site via Appearance > Themes > Add New.
For updates, use FTP or version control.
Congratulations! You’ve now mastered the basics of creating a WordPress theme from scratch. From initial setup to deployment, this guide has simplified theme development for you. Start small, experiment, and iterate as you progress. With practice, you’ll be able to create advanced themes and even sell them on platforms like ThemeForest.
If you encounter any challenges, the WordPress Codex and community forums are excellent resources for support. Happy coding—what will your first theme look like? Let us know in the comments!
Unlock high-quality templates and start building your perfect website today, all for only $10. No hidden fees, no hassle — just great design.